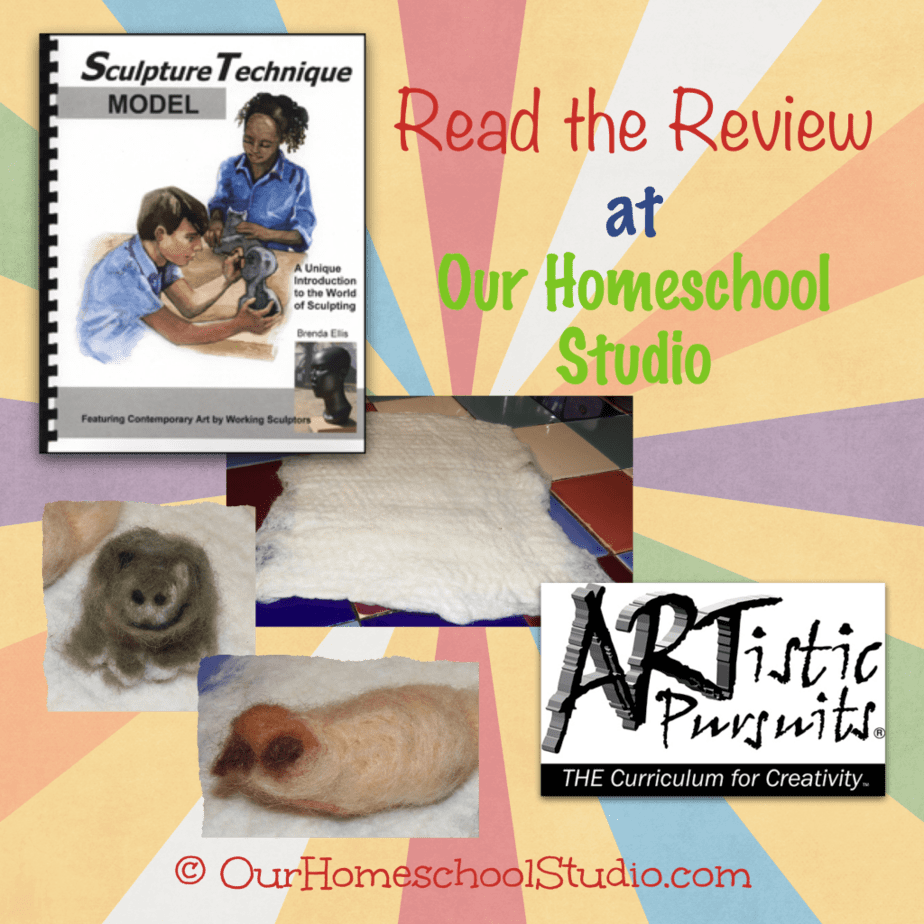
It is no surprise to most of you that we love art. Creating it, learning about artists and their art, trying out new techniques and different media, and trying to tie it in to every subject. Often, we’ll just “wing it” with no real plan. That works for general art making, but when we want to focus on a new technique or medium, we need instructions, a guide. That’s when we turn to ARTistic Pursuits. I was so excited to see their latest books on sculpture. The two new titles are Sculpture Technique: Construct ($47.95) and Sculpture Technique: Model ($47.95).
It was very difficult to choose which volume to start with (one is not a pre-requisite for the other), but we settled on Model. Within the three units, mass, scale and surface are learned. Each unit also focuses on different media – putty, clay and fiber. You can begin with any of the units because of the focus of a single part within the lesson. The Sculpture Technique books are different from the other books we have used in that the units aren’t broken into measurable lessons. The pacing will be determined in part by understanding and execution as well as the time for the materials. Things need to dry or set before moving on to the next step, etc. The book states this can be used for a year-long course (and includes a 36-week class schedule as a guide), but I see us using it for a semester. That gives us plenty of time to use the sculpture book for the second semester. This would also work well in a co-op setting; the recommended age for the Sculpture books is 11-18 (middle school and up).
I let my daughter (13 year old 7th grader) choose where to start, so “Creating Surface with Fiber” is where she began. Notice I said “she”? Yes, she did this pretty much on her own. Most of our pictures are me staging her as she was working on this without me. I cannot decide if I’m sad or proud. She is really becoming more independent and needing me less and less. I know this is the plan and has been on of our goals for this year. I miss doing these fun things though. One of the great things about art projects — once you have supplies and know the technique you can do projects again and again (yay for me!).
The unit begins with some pages covering color and texture, an example of a sculpture that shows how color and texture are used, and information on wool felt – including the safety precautions for the materials and tools used. We were able to look up the artist whose work was used and explore further pictures and information on her work. I assigned a notebook page on the artist (Carolyn Sato) which keeps with my plan of studying artists alongside art technique. This has been our first time studying a living, modern artist.
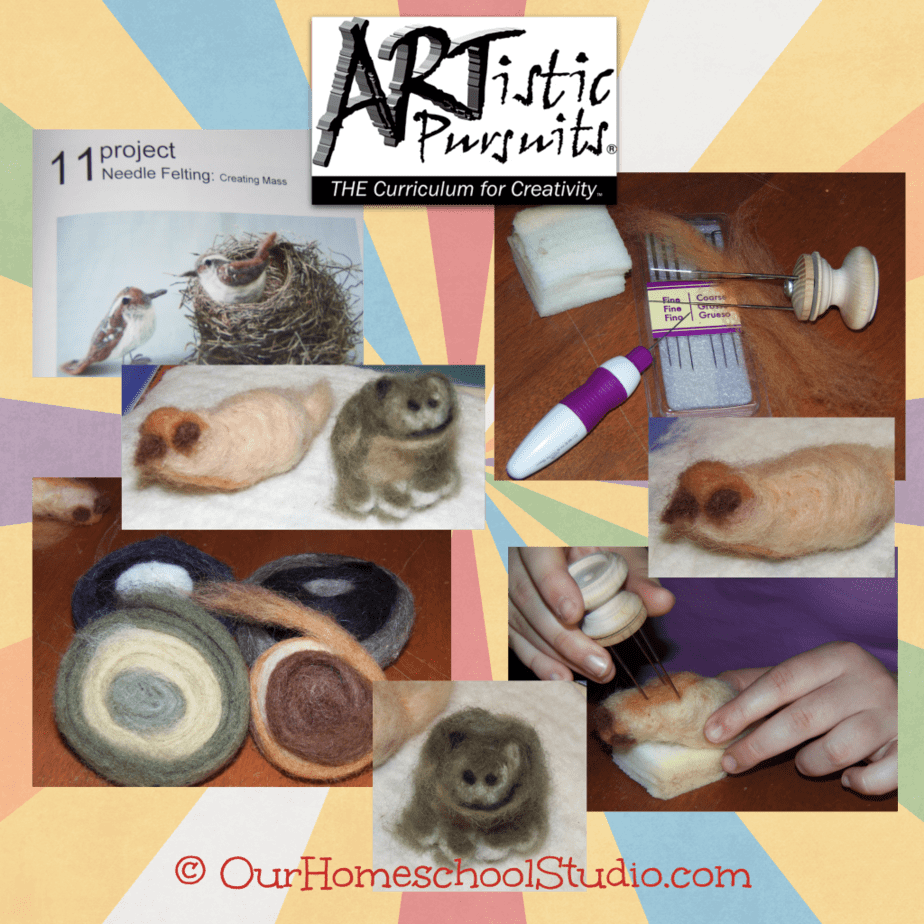
My bird-watching daughter jumped right to the project on needle felting a bird. The first projects are on wet felting, the latter on needle felting. I don’t think there was any harm in doing them in the order she chose. She had such fun creating her little bird, she was inspired to make a frog also. Without looking ahead to the next project and instructions, she used the techniques discussed on her own. Once she realized this, she was elated.
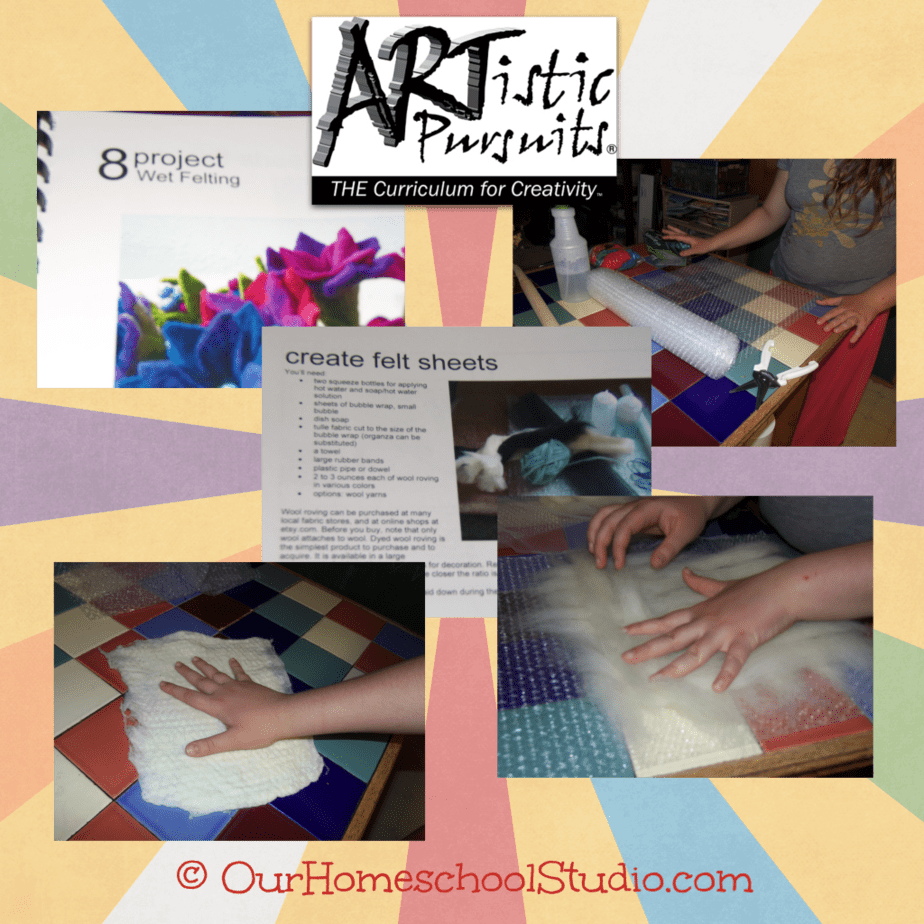
Her increased confidence from the success of the needle felting motivated her to try the wet felting. She asked if I would hang out with her while she did. I tried not to “take over”, but just sit and chat while she worked. With her hands wet and soapy and the book on the other side of the room (being protected from getting wet), she asked me to read to her what step was next. She then let me know she had been intimidated by this project, thinking it was too difficult. With me reading it for her, she could just concentrate on the doing — and loved it. She is now looking forward to many more felting projects – both wet and dry (needle).
I can see these units going on and on (and on. . .) so I’ll be setting a time limit of six weeks. This fits within our plans for lessons in other areas and our focus of one artist per term. Rather than saying “no more projects” (that’s just too cruel!), we’ll continue fiber projects during free time and move to the next unit for art time. To complete a unit, there is self-evaluation page. The format is the same for each unit – Understanding the Elements of Sculpture, Understanding Creativity and Understanding Craftsmanship. There is an essay, “The Road to Creativity” found in the back that is referred to for all three units. A handy answer guide is included with points for each question of the evaluation. The evaluation can be completed in writing or orally. Within this answer guide, the teacher is also reminded to not be stringent in the grading of the project — I love this! The guide is so useful as I have been very hands-off for most of this. We don’t track grades, but if we did, it would be so easy to figure using this guide.
I’m looking forward to the next unit we she will be doing on clay. I was hoping she would save this for when the weather is warmer so she can work outdoors (and secretly cheered when she chose fiber for the first unit). We have an area right outside the door, under the carport with tables set up that is our favorite “art spot”. Mama doesn’t worry about any mess and there is more room to spread out and focus on creating.